One of the main points of working in the Open is to make your work public so that it can be shared and used by others. This way, we all have greater opportunities for finding more content and learning from each other as we build upon that work.
Creative Commons (CC) “helps you legally share your knowledge and creativity to build a more equitable, accessible, and innovative world. They provide free, easy-to-use copyright licenses to make a simple and standardized way to give the public permission to share and use your creative work–on conditions of your choice.”
It is important to put a license on your domain (website) so that others can be aware of how you would like it to be used. Your site can be copyrighted with no permissions, but allowing others to share and use your work can bring you rich connections and the ability to learn cooperatively. I encourage you to read through their site and to add a CC license to your domain space where you can give permissions while ensuring that users attribute you for that work.There are several types of CC licenses with varying degrees of freedom for use.
You can probably figure out how to choose and add a CC license to your site on your own, but below is a link to a short tutorial that I created that might be helpful.
Putting a CC license on your website
Properly Attributing Photos
Adding images can be a great way to enhance your domain space. If you have taken a photo yourself, just add ‘Photo by yourname’ as a caption to the picture and add a license of your choice. But many of us may make use of photos taken by others. The best to way find images that you know you can use without worrying about violating copyrights, is to find material with Creative Commons licenses.
Here are some instructions:
- Go to Creativecommons.org, click on ‘Search the Commons‘.
- Enter a subject name in the box, like ‘spider’.
- Right click on the image and save it.
- Find the attribution below and copy the rich text, paste it somewhere for safekeeping. (you can also copy the HTML and embed it if you prefer).
- Once downloaded you can drag the image into your media library.
- Once it’s in your media library, click on the photo to edit it and paste the rich text attribution that you copied into the caption box. Make sure your caption includes: Image title, by author, and the CC license. (Note- if you use the caption in the photo editor, you cannot create hyperlinks so typing a line in the post or page body below the image after you insert it is a better method).
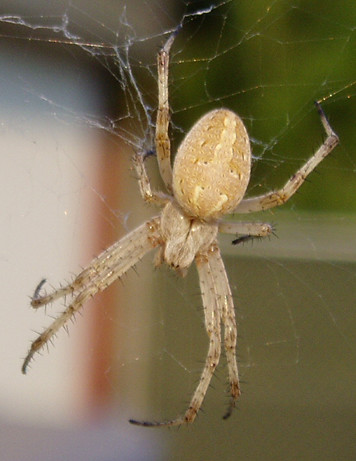
“Spider Shots 2” by wireheadinc is licensed under CC BY-NC-SA 2.0
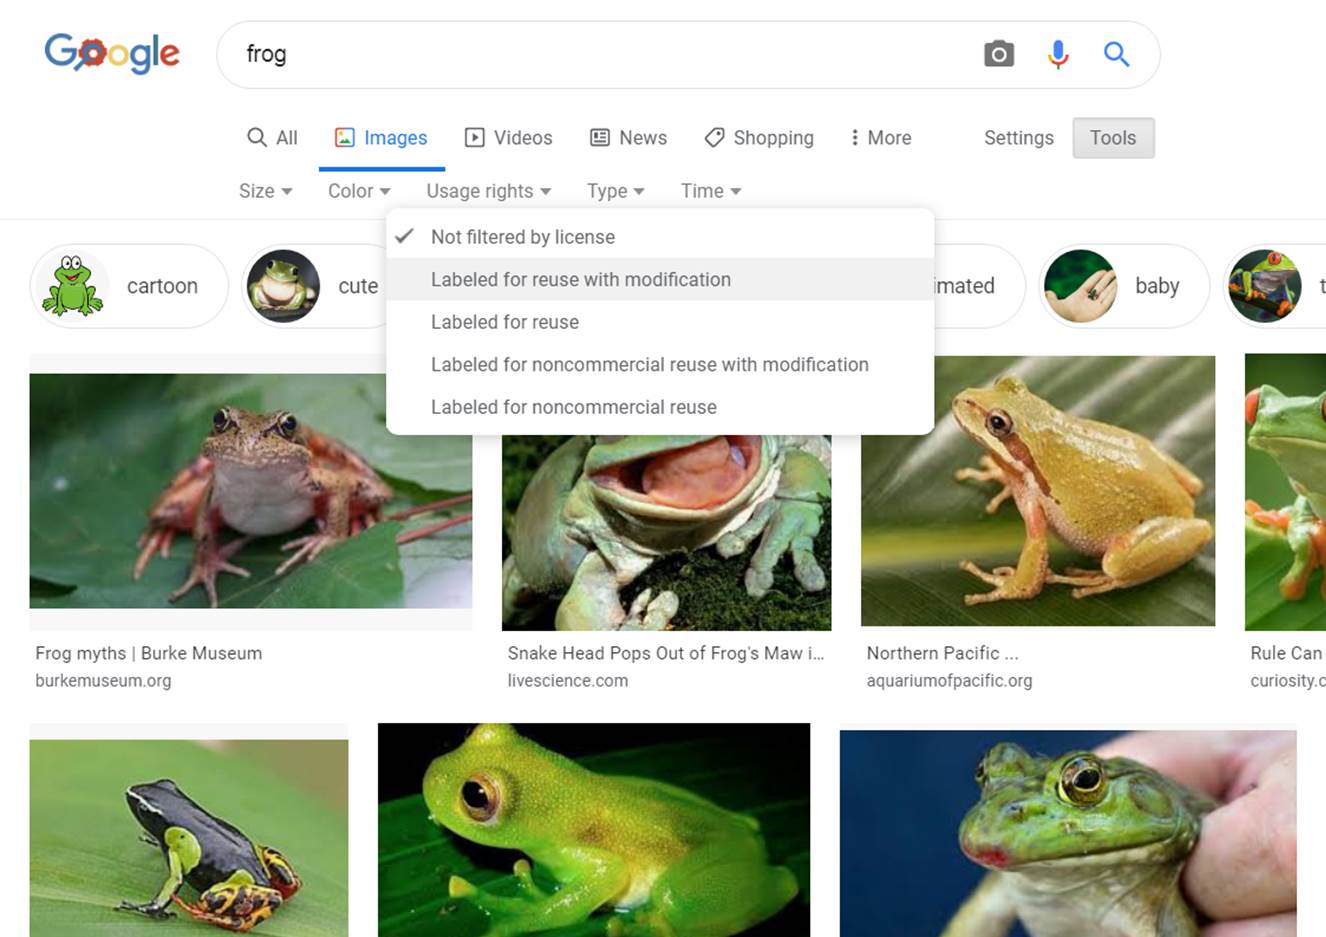
You can also use a google image search by clicking on ‘Tools’, then ‘usage rights’, then go to ‘labeled for reuse with modification’. When you find an image you want, click on the image page and search for the correct license information. Follow the instructions above for properly attributing the photo on your site, you will likely have to do the attribution links manually. (It is possible that some of the images that showed up in the google search are not actually openly licensed so make sure you check and find the license before using the image.)
Click on the screenshot below to see it more clearly: